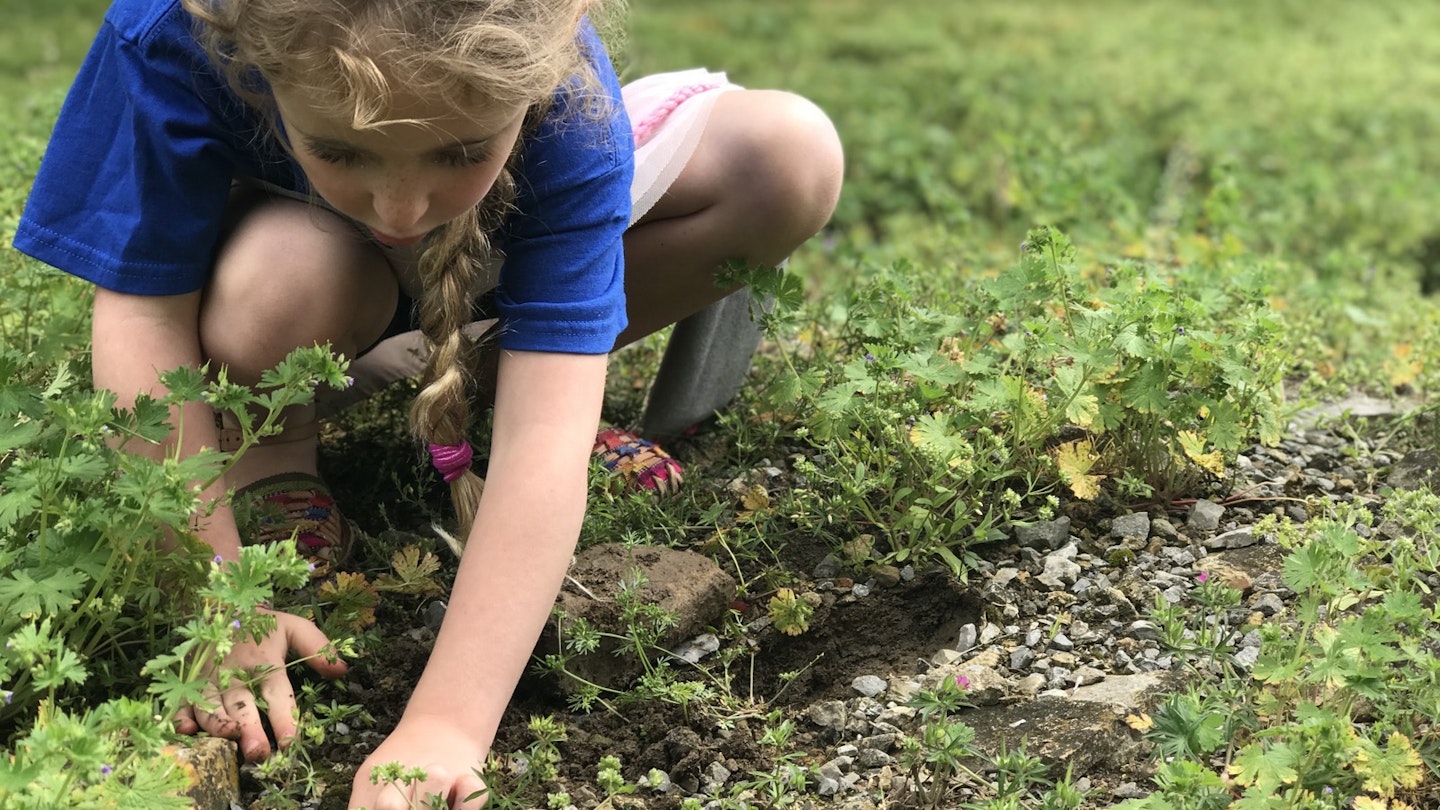
Finding treasures is one of the best parts of taking a big trip. Whether it’s hunting for the perfect souvenir or finding a heart-shaped rock on the beach to remember that heart-stopping sunset, the world is full of beautiful things to collect. However, even when we are home, we can find treasures in our own backyards and neighborhoods. Here’s everything you need to make a treasure bag, go on a hunt, and create art with the amazing things you’ll find.
Getting Started
Parents can transform this activity into a multi-day experience or use all the ideas to create one full day of treasure hunting. The bag is simple to make, and children as young as four can do most of it with limited help from mom or dad; however, it does take about an hour to an hour and a half of steady concentration, which may be a challenge for the little ones. Therefore, consider breaking it up into two parts.
The hunt and the art creation can take as long as you want. It’s all up to you and your kiddos.

Making Your Treasure Bag
This tutorial is provided by Shelley Jacobs, a teacher from Linden Waldorf School, who has crafted an incredible homeschool curriculum. The strap is finger-knitted from a heavier-weight yarn, while the body is made from felt using a blanket stitch or whip stitch. Gear up and have all your supplies ready for the fun to begin!
Materials
-
One long string of heavier-weighted yarn – about 60”
-
A rectangular piece of felt around 8″ x 10″
-
Embroidery thread or yarn
-
Needle for sewing
Step 1: Have the child finger knit a chain about 32” long with yarn. If you’ve never finger knitted before, it may be helpful to watch a tutorial for guidance. Make a slipknot to start and hand the knot to the child. They can hold the yarn by the knot and using their index finger and thumb go through the loop to grab the yarn and pull it up and through. The new loop will be bigger than the first, and they can pull the tail a little to make it smaller and repeat until the chain is long enough to loop over the head and make a cross-body bag.
Step 2: Set the finger-knit chain aside and place your felt horizontally.
Step 3: Fold the felt in half so the 8-inch sides are even, resulting in a 5″ x 8″ pouch.
Step 4: Using the needle and embroidery thread, sew together the longer vertical edge and one of the horizontal edges using either the whip stitch or the blanket stitch.
Step 5: Sew the finger-knit chain to the top inside edges of the bag. Parents of younger children may want to assist with this step, but older kids should be able to manage it as well.
You now have your own treasure bag! Time to go hunting!

Treasure Hunt
Parents can create whatever kind of treasure hunt you want or simply let your children roam and fill their bags with whatever they find.
Sample Nature Scavenger Hunt List:
-
A feather
-
A seed
-
A decaying leaf
-
A red, grey, and white rock
-
A leaf chewed by an animal
-
A natural object with a strong smell
-
A piece of litter
-
Natural objects to make music
-
Something about which you have a question

Projects to Do with Your Nature Treasures
Now it’s time to have some fun with all the amazing things you found during your treasure hunt.
-
Take a look at Justina Blakeney’s Instagram for inspiration on creating portraits with flowers and other natural objects.
-
Pick up all the leaves you can find and make a leaf rubbing – position your leaves on a flat surface and cover them with a piece of paper. Using the side of a crayon, rub the paper until the pattern on the leaves appears.
-
Create a magic stick or wand by wrapping double-sided tape around a special stick and attaching all your interesting finds.


