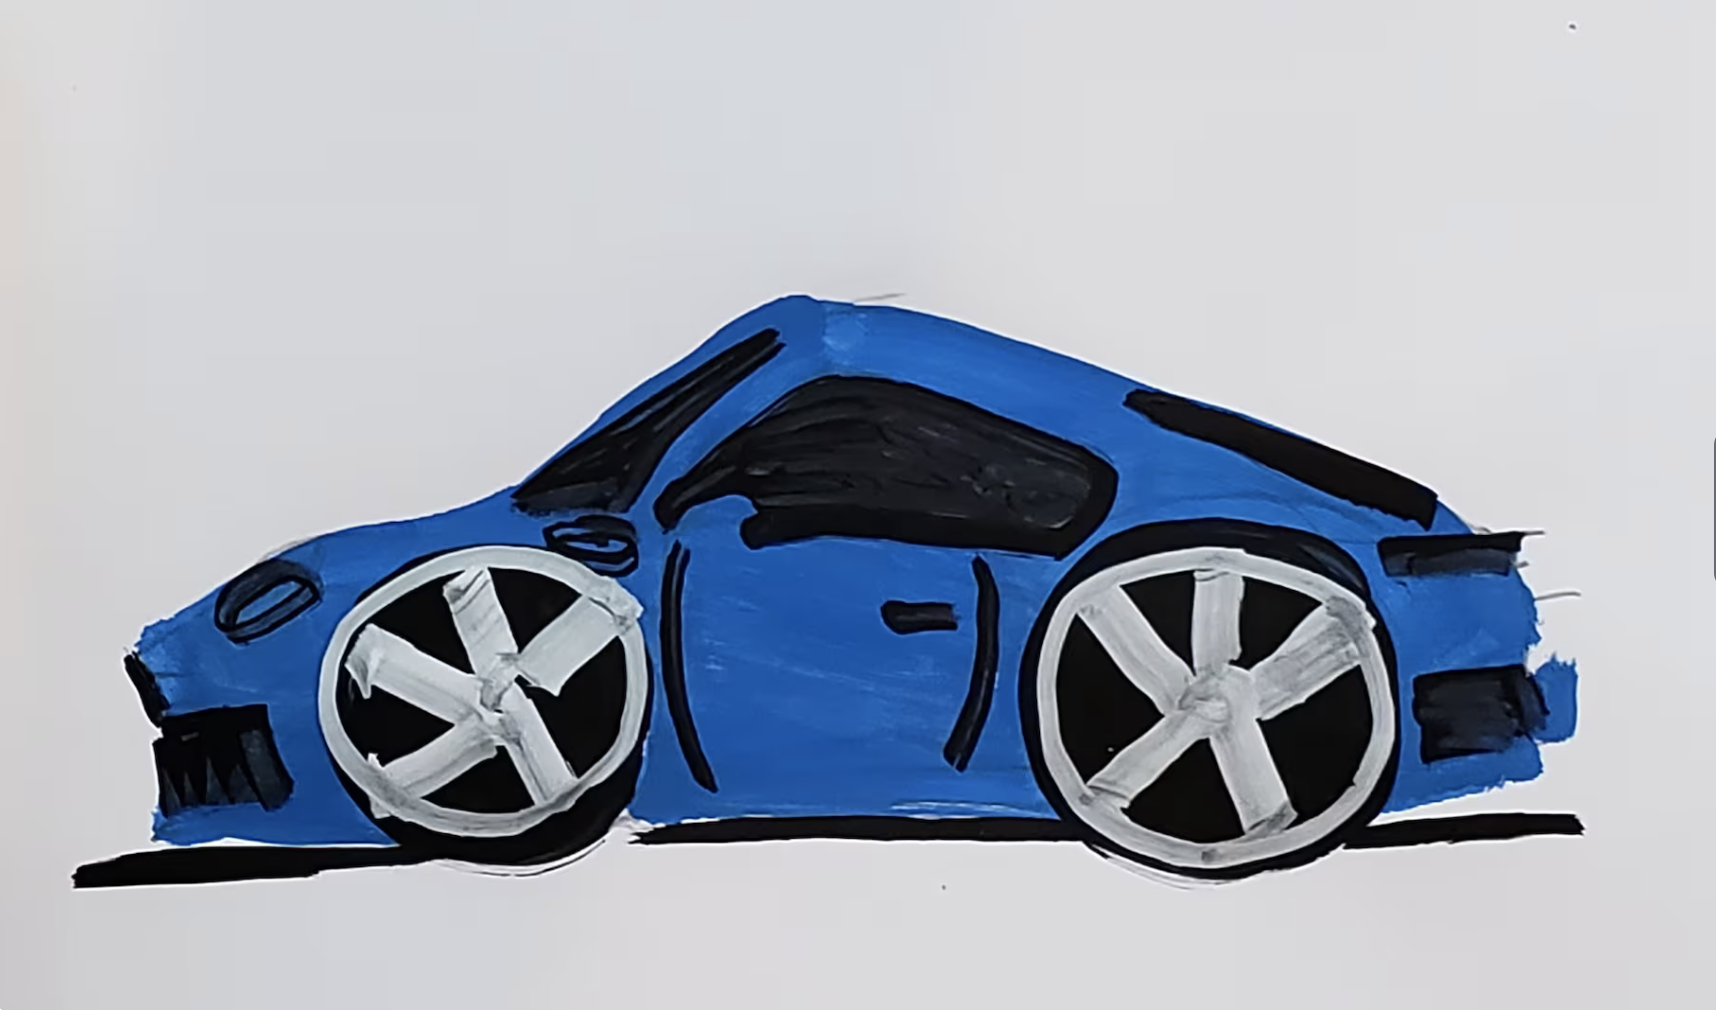
How to Draw a Porsche 911: Step-by-Step Guide
Alright, this one is super easy. First, get a number two pencil, a box of Crayolas, and a Porsche 911 to draw. Wait, you don’t have a 911? Don’t worry, here’s the next best thing: Michael Mauer, Porsche’s head of design, will guide you on how to draw a 911 from scratch.
Mauer has been drawing 911s since at least 2004. He refers to his sketches as “happy accidents,” a term he borrowed from his friend Doug Chiang, a well-known designer. To draw cars, you need to think in three dimensions and it’s perfectly alright to exaggerate the details. Let’s kick things off by drawing a pair of giant wheels. Cool, right? Here’s how to get started:
Step 1: Begin with the Wheels

If you asked ten car designers to explain this sketching process, you would receive five different approaches. Most designers prefer to begin with both wheels to establish the wheelbase and proportions accurately. You can choose your own method, but starting with both wheels allows you to visualize where the rear wheel should be. If adjustments are needed, don’t hesitate to erase and start anew.
Step 2: Establish the Ground Line

Once your wheels are established, draw the line between them to represent the ground. This step will help you build the car’s outline. Designers often refer to the “Y zero section,” the silhouette, which is iconic in the case of the 911. If the silhouette and wheelbase don’t match, consider adjusting the position of the rear wheel, which is easily rectified.
Step 3: Create the Silhouette

Begin refining the silhouette by adding the iconic details of the Porsche 911. Think about the distinctive characteristics such as the DLO (daylight opening), and include the front headlamp and details at the rear. Here, shaping the bumper and rear lamp becomes crucial for distinguishing the 911’s unique styling.
Step 4: Add Initial Details

As you sketch, layering is critical. Begin incorporating the DLO, headlamp shapes, and additional details to enhance the car’s personality. Pay attention to the shapes as they are essential for achieving a balanced and proportional sketch.
Step 5: Enhance the Structure

You can now begin to accentuate details like door handles and varied line thickness to create a three-dimensional feel. Use visual references to see how light and shadows play on a car’s surface, allowing you to replicate those lines effectively.
Step 6: Introduce Shadow

Now it’s time to enhance your drawing further by adding shadows and contrasts. This approach provides a sophisticated look to your sketch. Consider how light interacts with the surfaces of the car to create areas of shadow.
Step 7: Introduce Color

Introduce color to your sketch, which adds a lively touch and integrates the components effectively. This step can be performed with watercolors, crayons, or digital software. For those who prefer traditional methods, simple color pencils can also create vibrant effects.
Step 8: Refine and Polish

At this stage, focus on refining edges and reinforcing shadows and highlights. Ensure the car appears contextual by contrasting it against a background. Consider using photographs of cars as references to improve your sketch’s realism.
Step 9: Final Touches
Pay attention to details, particularly features like the glass’s curvature and the connection between tones. This ensures your drawing looks dynamic and polished. Gradually refine your work until it achieves the sophisticated look you desire.
Step 10: Review Your Work

Finally, review your completed drawing of the 911. Mauer emphasizes that design is a process filled with trial and error. Take pride in your work and continue to develop your skills further!


